
© 2023 House of Health. All rights reserved.
Web Design by Netbloom
Web Design by Netbloom
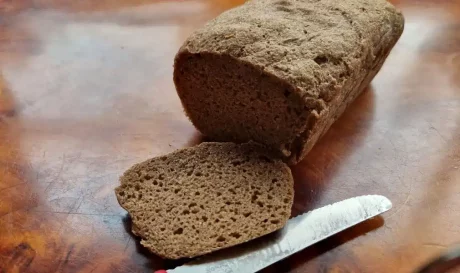
Anyone can bake their own delicious rye sourdough with this super-easy recipe.
Follow these easy step-by-step instructions to start making rye bread from a dehydrated sourdough starter. Once you have made your first loaf, steps 1-3 become redundant and future loaves use one cup less of flour, including feeding your starter.
You can make it 100% rye if you wish – your dough might need to be slightly wetter and it might need to be baked for a little longer. You can experiment with other flours as well, as long as your starter is fed 100% rye, and your bread dough is at least 2/3 wholemeal rye.
If starting from a dehydrated starter, first mix with double its volume of filtered water.

Let it stand until it has absorbed the water.
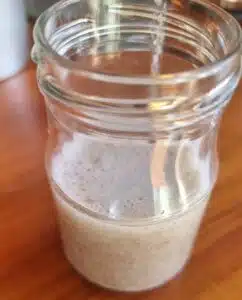
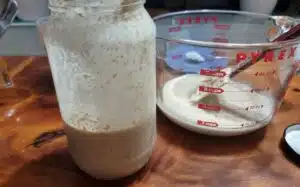
Add 1 cup of RYE flour and enough water to make a wet paste. Mix and let stand until it becomes active. How long this takes will depend on the room temperature. Once active, you will see bubbles forming and rising to the surface.

Divide your starter in half. Put one half into a large glass jar. Add a whole cup of rye flour and enough water to make a wet paste. Mix well. The jar should not be more than half full. Put the lid on and place in the refrigerator.
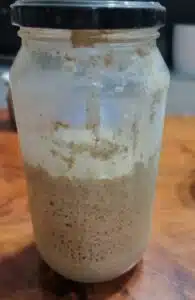
Put the other half of the starter into your mixing bowl and add 1 cup of rye flour and enough filtered, luke-warm water to make a wet paste. Cover and let sit until the starter is active (you will see bubbles).

Add 1 cup of rye flour, 1 tsp of sea salt, plus 1 more cup of flour of your choice.
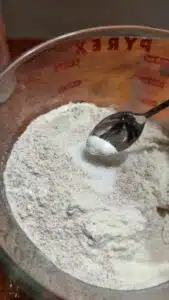
Mix well, adding water as you go to get a stiff but wet dough.
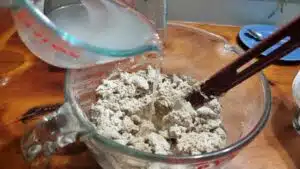
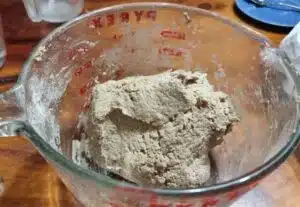
This dough is sticky and not kneadable. It’s about right when it just holds together as you stir it with your stiff spatula or wooden spoon.
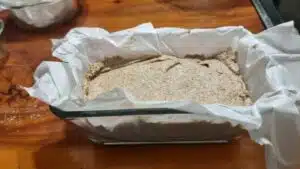
Line a loaf tin with baking paper. I like this pyrex one because it’s not too big. Scrape your dough in, spread it out evenly.
You can also use an oven-proof casserole dish with a lid. Your loaf will be round and not so deep, but will bake well.

You can also make small loaves using different oven-proof dishes.
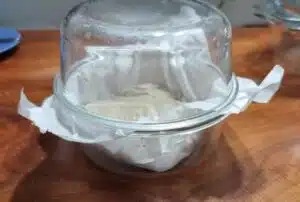
Either cover with its own lid or place inside a larger oven-proof container with a a lid. Leave to rise all day or a good 12 hours overnight.
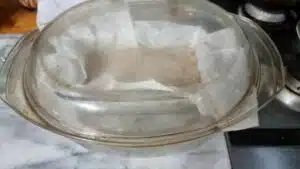
When the dough has risen (by at least 50%), put into the oven with the lid on. Bake at 200oC for 55 minutes.
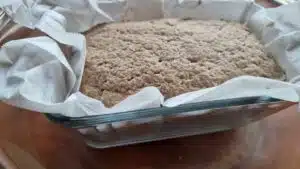
Remove the lid and return to the oven for 5-10 minutes to brown on top.
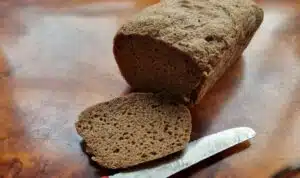
Turn out onto a cooling rack and remove the baking paper. Preserve this to wrap your cooled loaf in.

Your loaf will slice more easily when it’s cold. I also recommend an electric bread slicer or knife.
When making your next batch, remove the rye starter from the refrigerator, fill the jar with water and stir until well mixed. Put ¼ to ⅓ into a clean jar, add a cup of rye flour and mix well. Cover and return to the refrigerator.
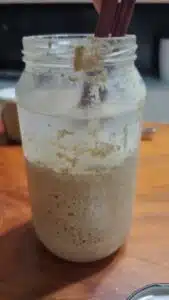
Make your loaf with the remaining starter by adding 3 cups of flour, 1 tsp of salt and enough water to make a sticky dough. Proceed from step 7 above.


Every person has cancer cells in the body. These cancer cells do not show up in the standard tests until they have
Book a Consultation with an Expert Here
House of Health Ltd
Due staff shortages, please use the website, phone or email to place your order. We will let you know when your items are ready for collection. Dismiss
Stay informed: Get expert tips, free advice, updates, recipes, and special offers delivered straight to your inbox.